이전 글에서 notion-py를 사용해 노션에 페이지에 있는 블로그 포스트들을 마크다운 문서로 추출하는 방법까지 사용해봤다. 하지만 본격적으로 노션을 CMS로 사용하기 위해서 노션의 강력한 데이터베이스 기능을 활용하려고 한다.
노션 데이터베이스 활용하기
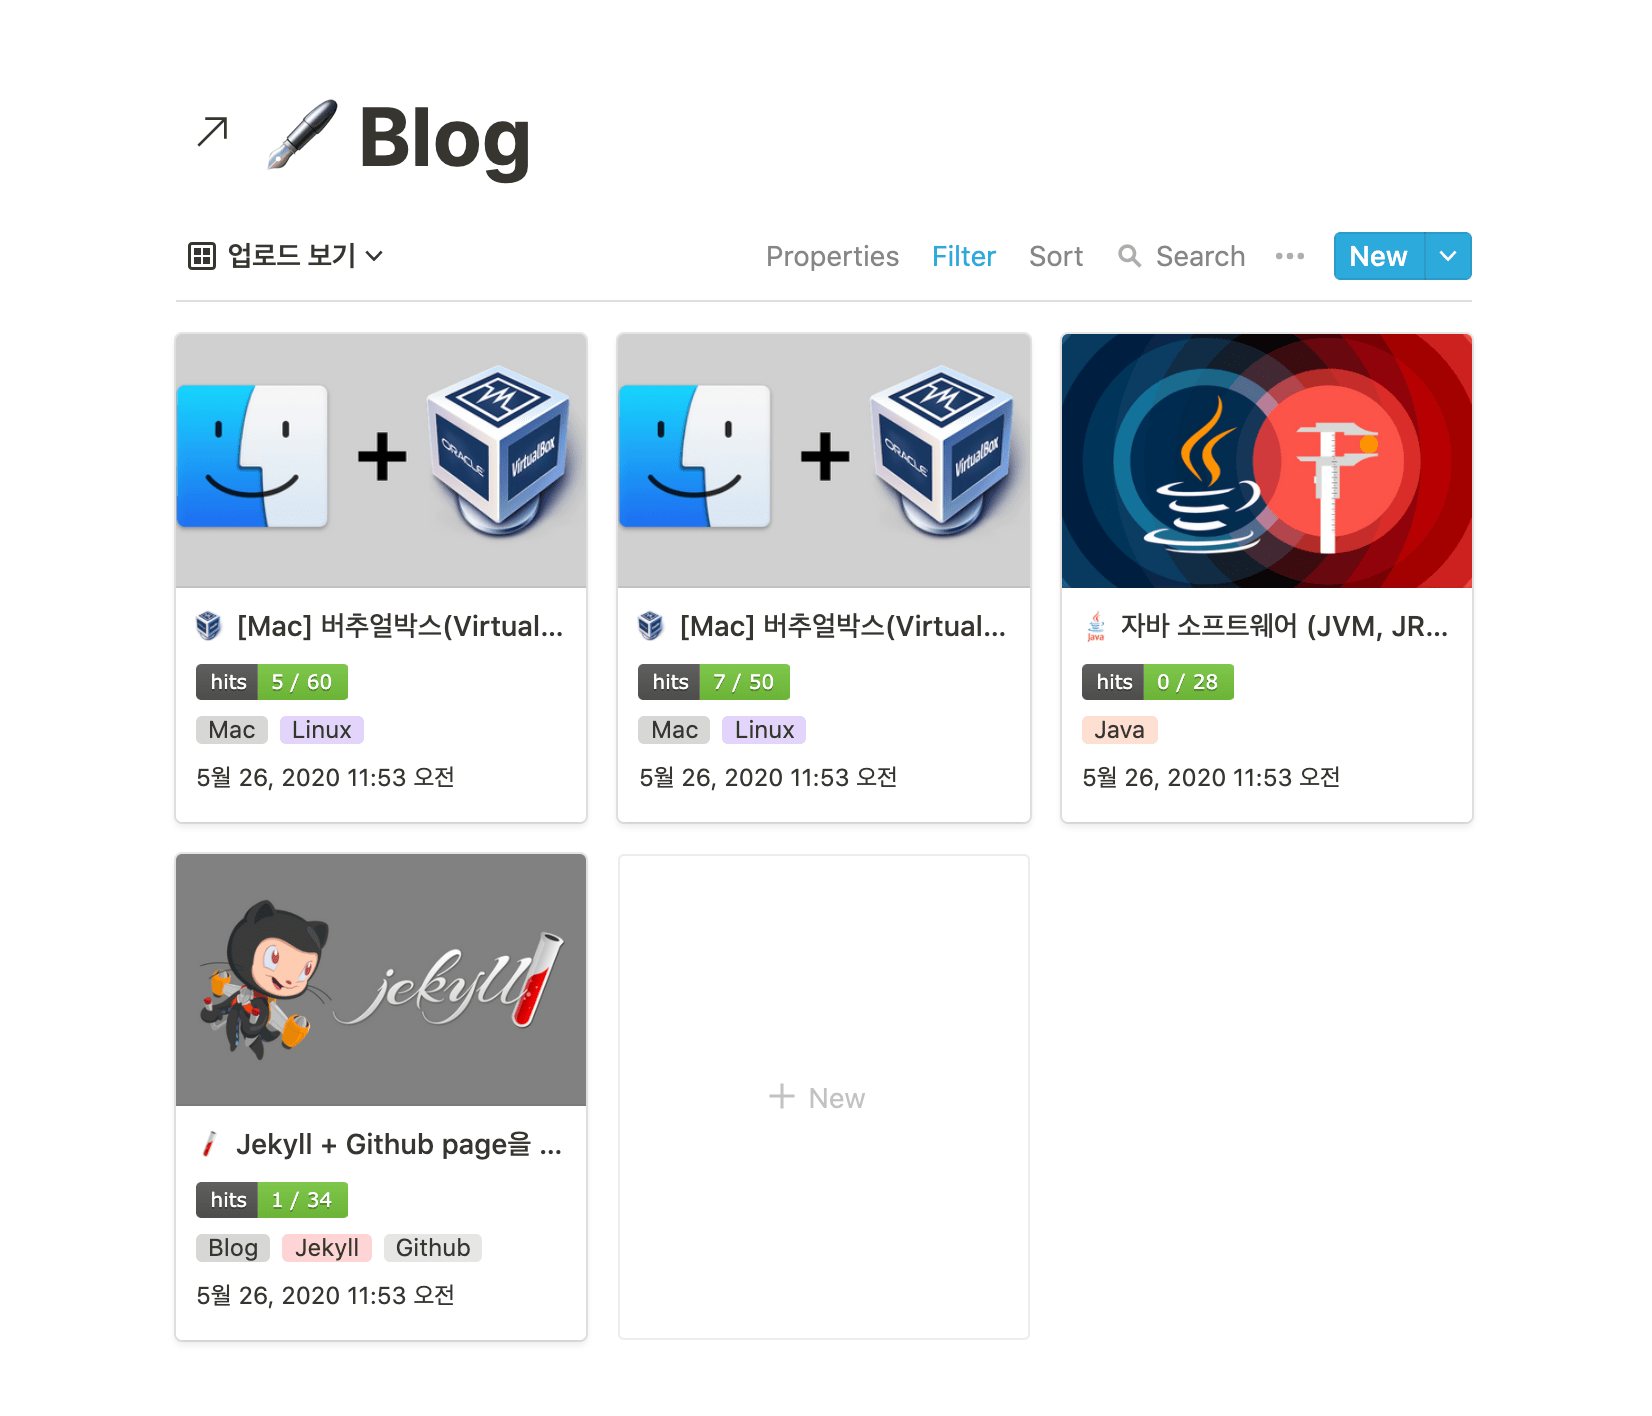
이전 방식처럼 한 페이지 안에 블로그 포스트들을 단순히 모아놓는 것은 여러모로 불편하다. 포스트의 제목만 보이기 때문에, 언제 작성했는지, 무슨 주제인지 쉽게 파악하기 어렵다.
노션은 다양한 콘텐츠를 관리할 수 있는 강력한 데이터베이스 기능을 제공하는데, 이를 활용하면 블로그 포스트도 쉽게 관리할 수 있다.
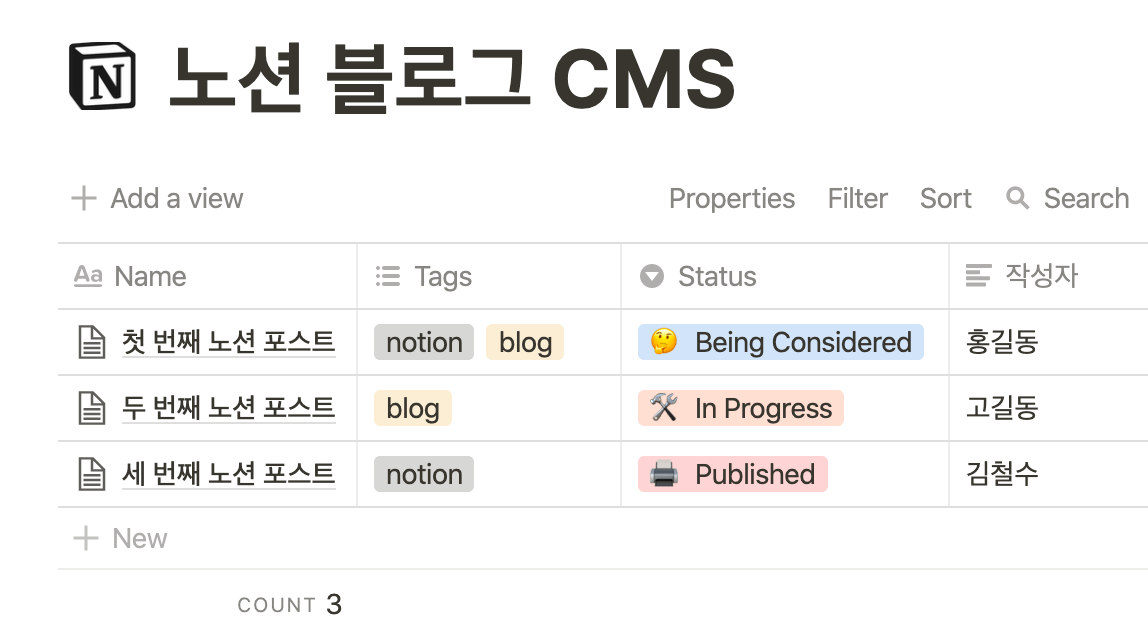
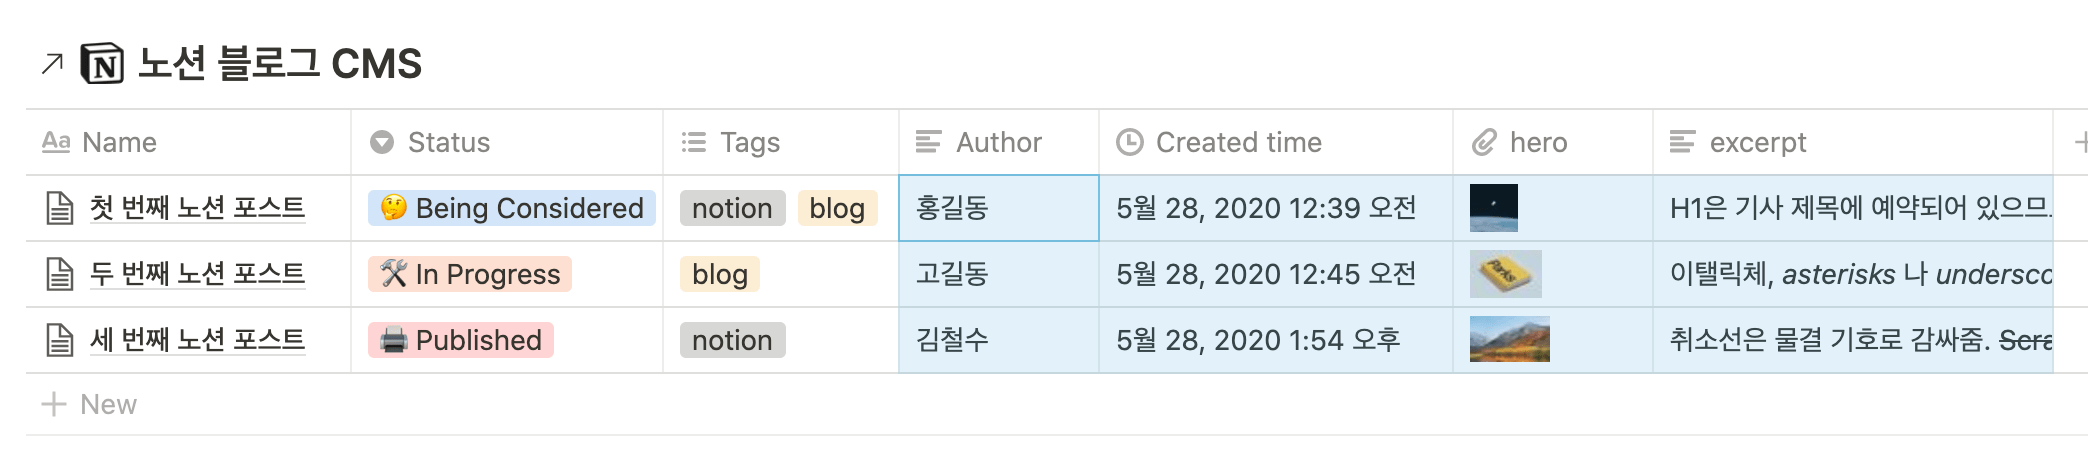
다양한 프로퍼티를 사용해 작성 날짜, 상태, 태그, 작성자 등 블로그 포스트에 필요한 헤더 데이터를 구성할 수 있다.
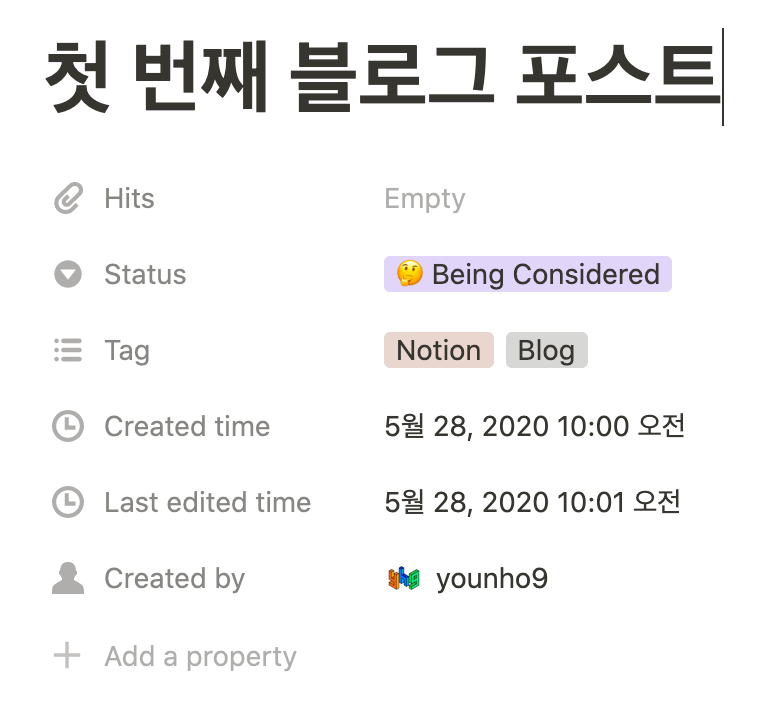
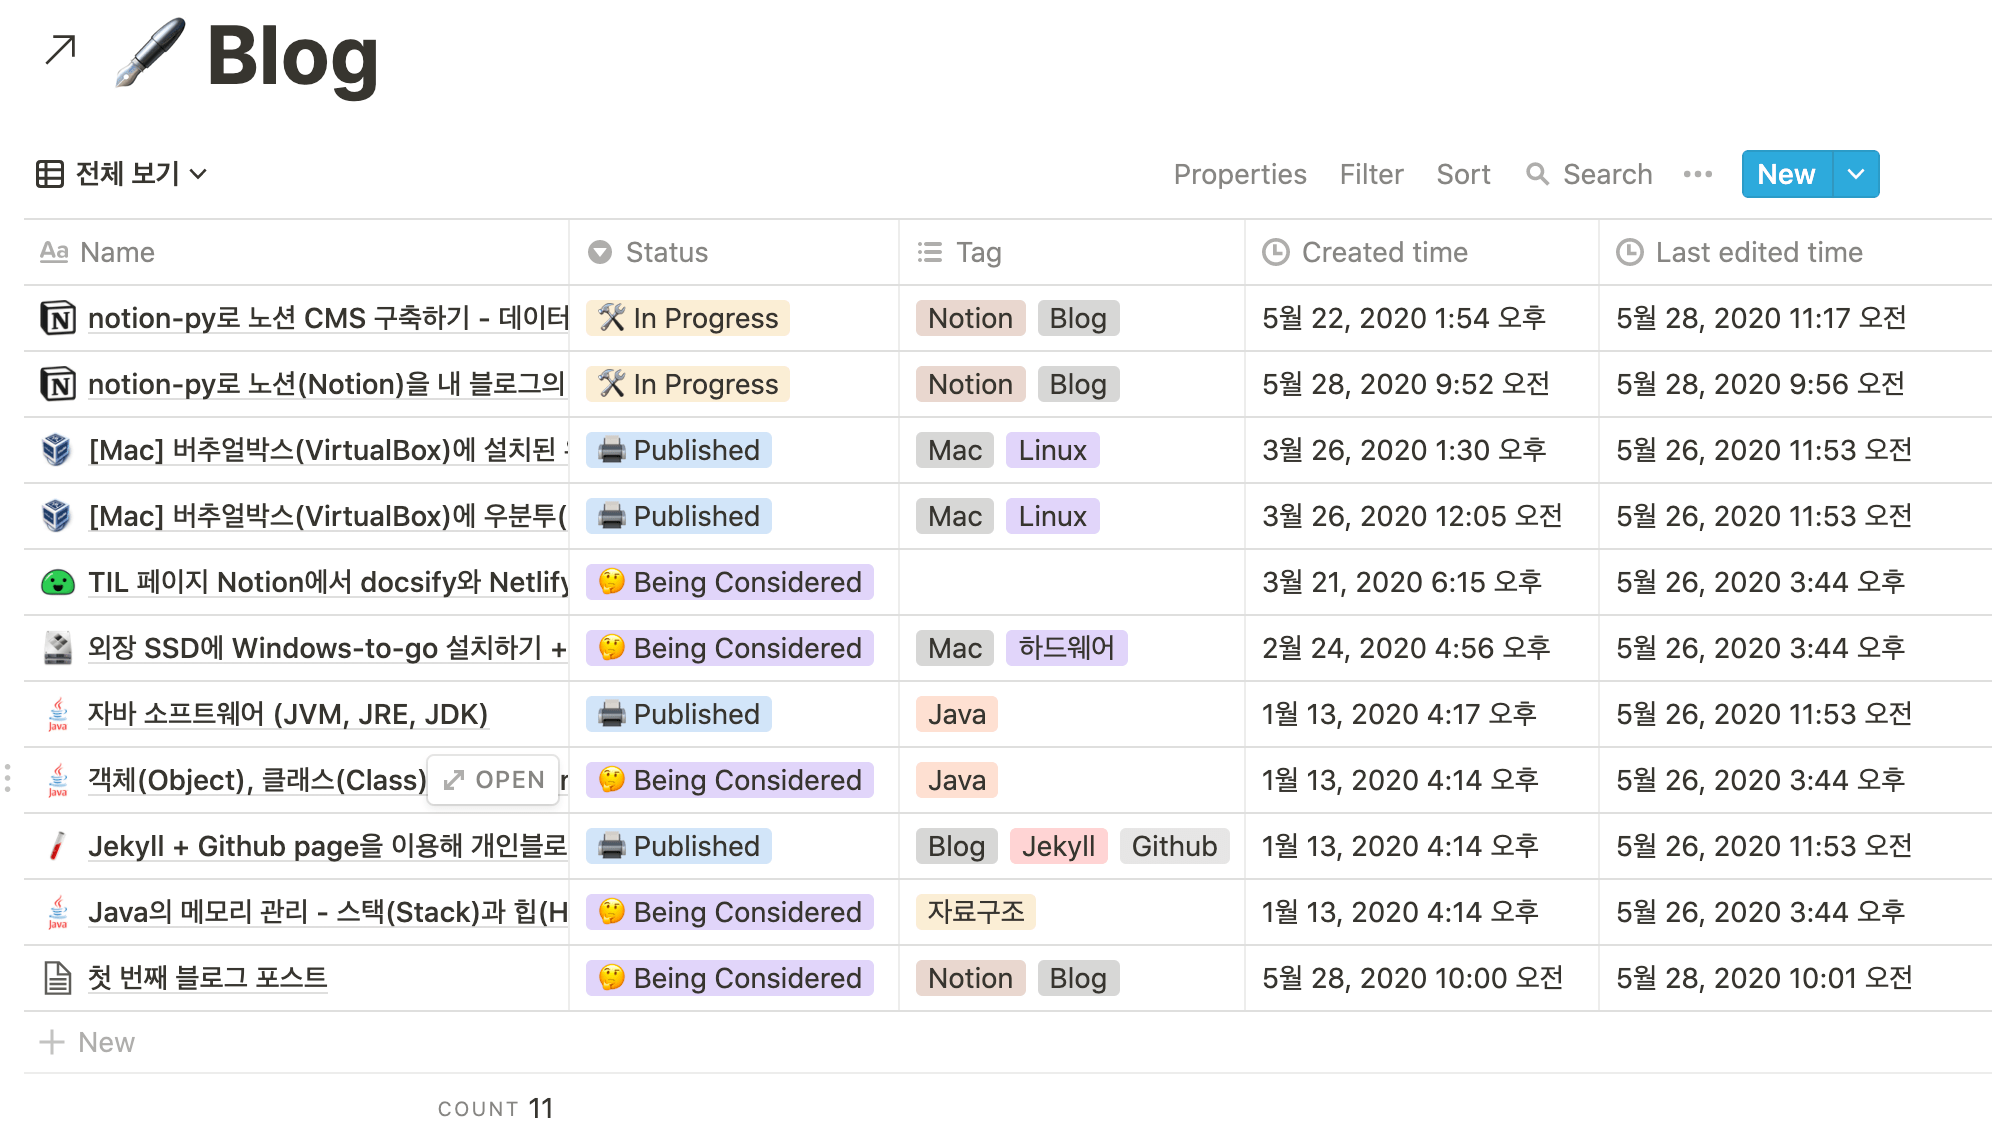
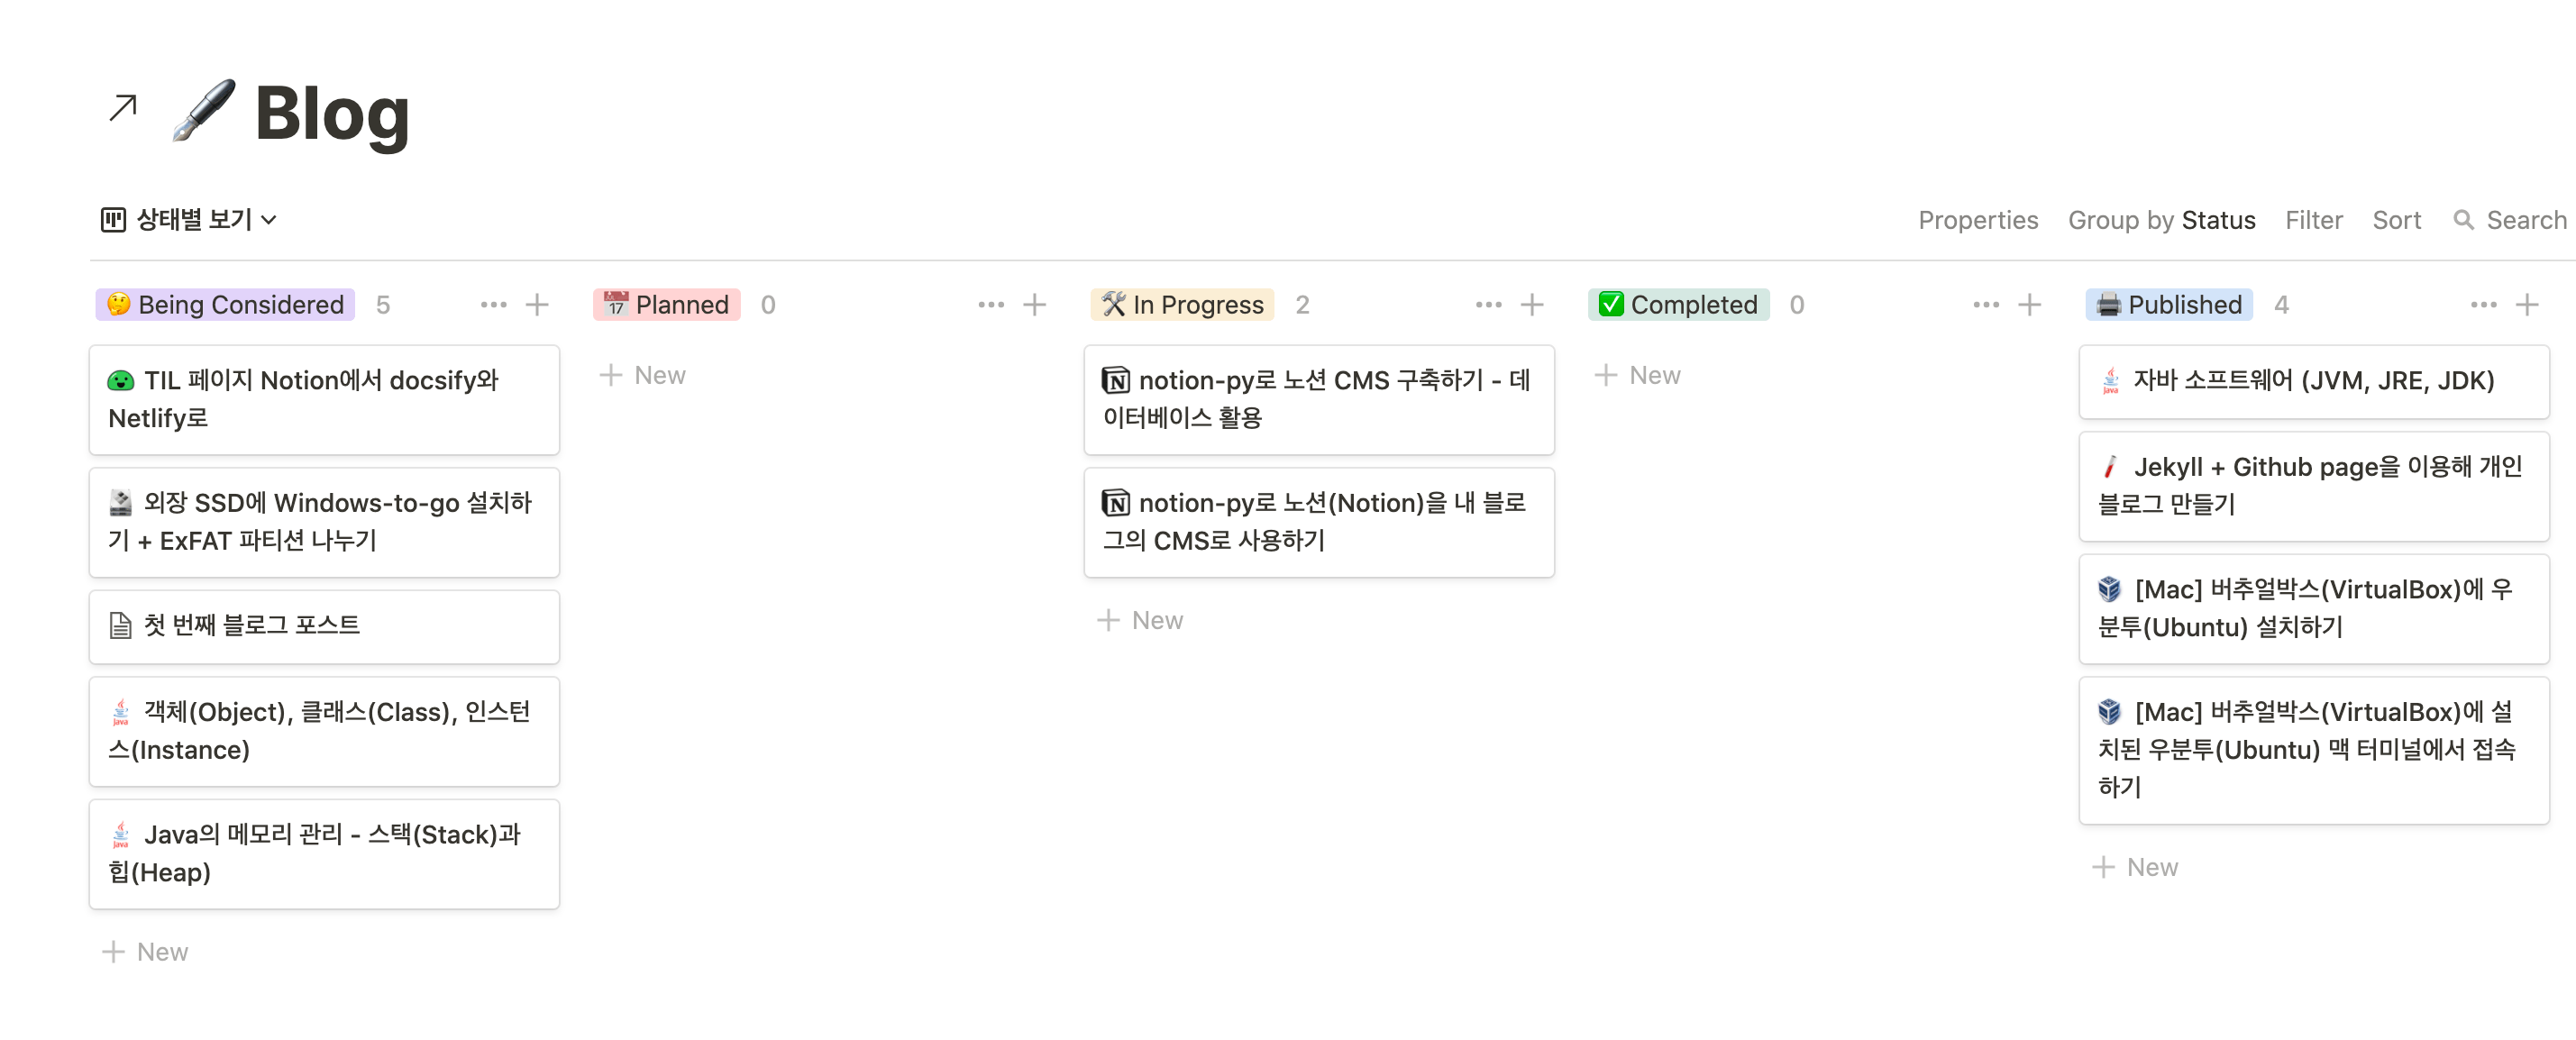
그리고 노션 데이터베이스는 이러한 프로퍼티들을 활용해서 필터링하고 정렬하는 기능을 지원하며, 테이블, 보드, 캘린더 등 다양한 뷰를 지원하기 때문에 콘텐츠들을 쉽게 파악할 수 있다.
링크드 데이터베이스 (Linked database)
노션에는 링크드 데이터베이스라는 개념이 있다. 노션에서 데이터베이스는 인라인 또는 풀페이지로 만들 수 있는데, 이렇게 만든 원본 데이터베이스를 “링크”하여 다른 페이지 안에 넣거나, 자체 페이지로 만드는 것이 가능하다.
원본 데이터베이스와 링크드 데이터베이스는 같은 데이터베이스로, 데이터가 완전히 동기화된다.
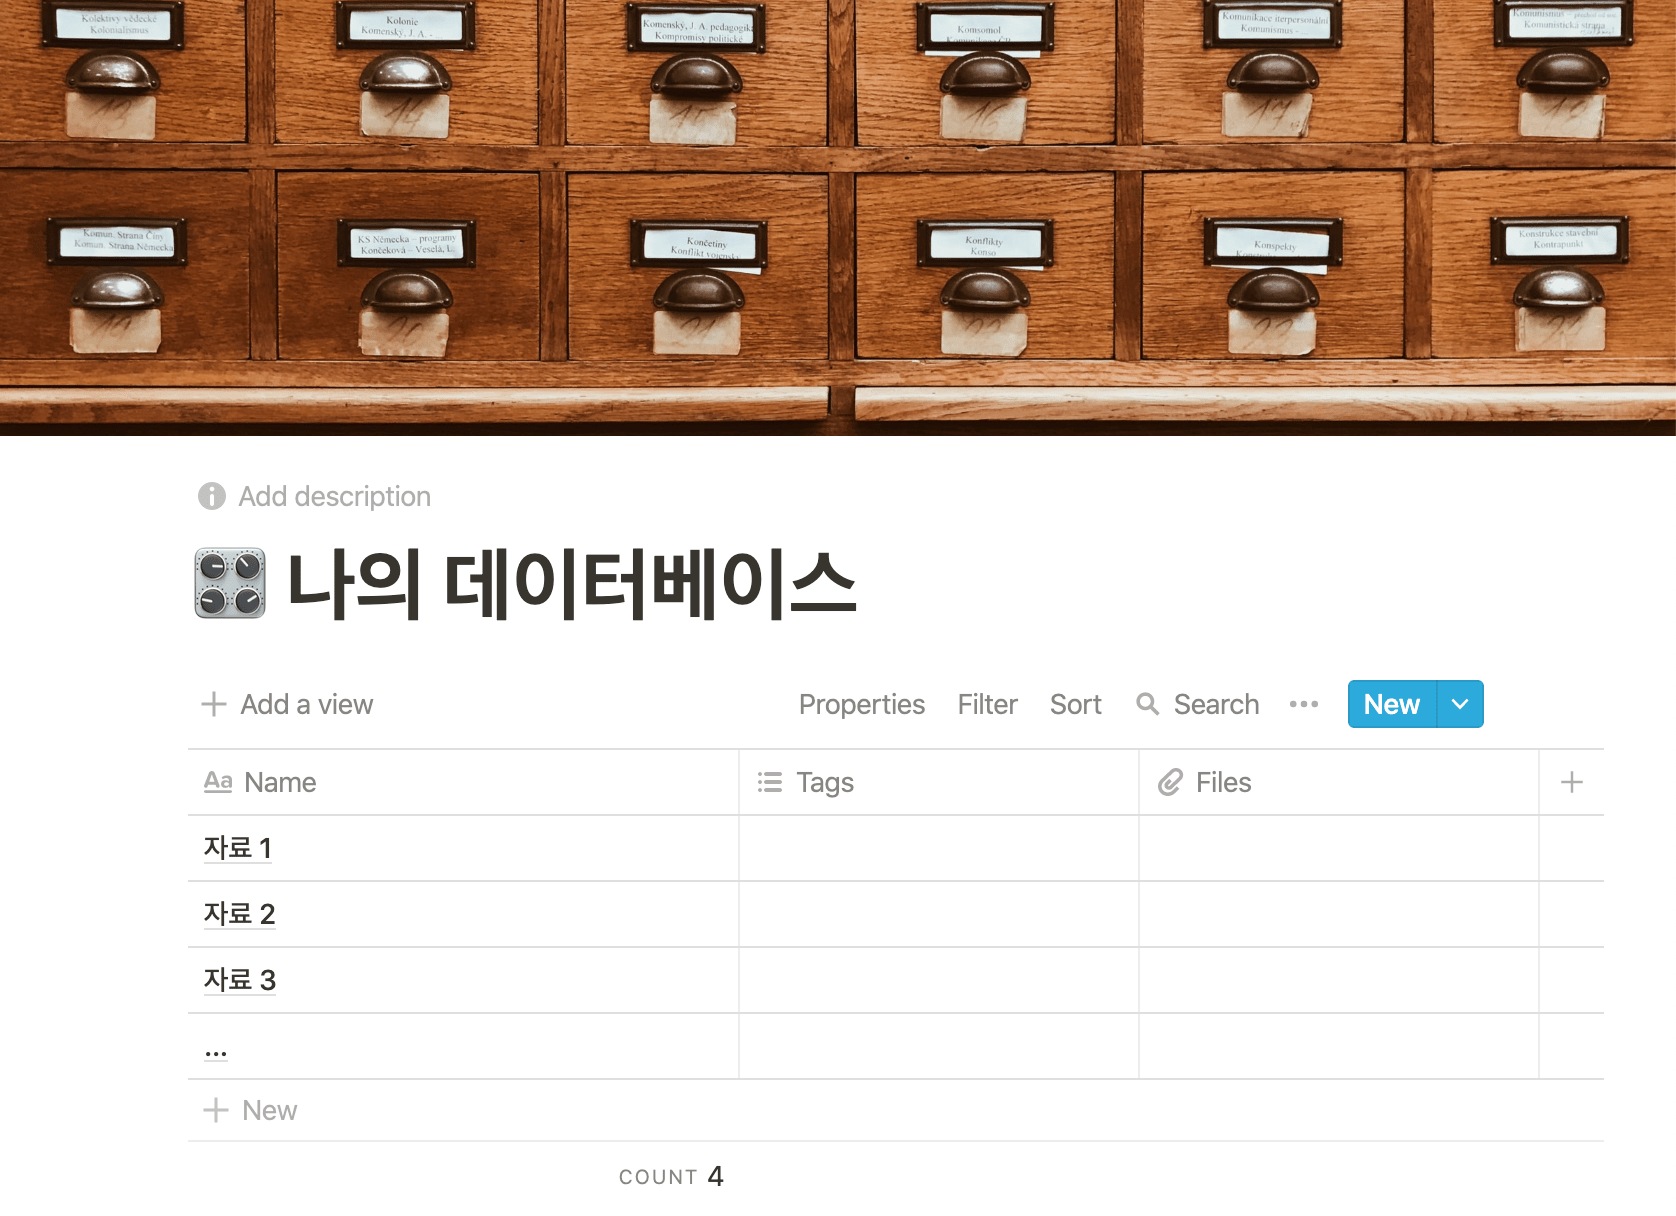
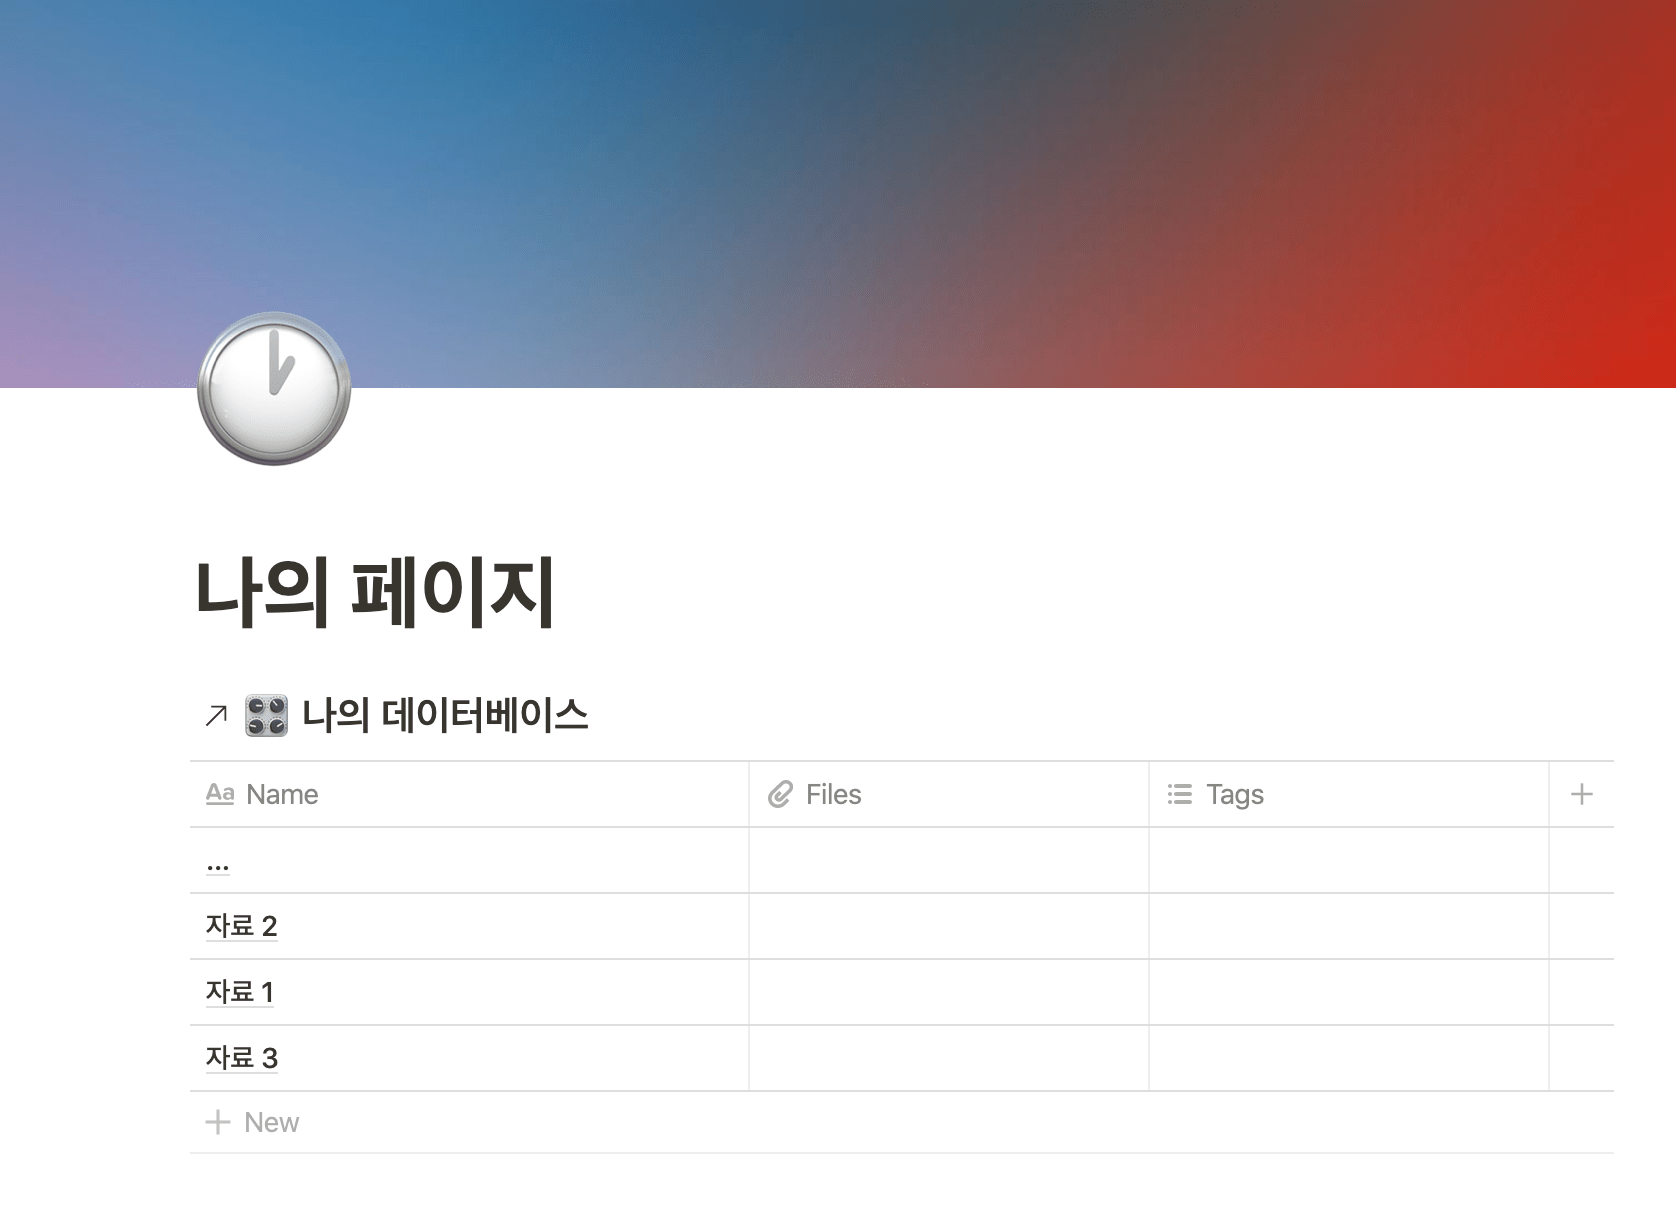
원본 데이터베이스와 페이지에 삽입한 링크드 데이터베이스. 왼쪽의 ↗화살표가 보인다.
본격적인 CMS 구축
이렇게 강력한 노션의 데이터베이스 기능을 활용하여 본격적으로 노션 CMS를 구축해보자.
먼저 노션에 블로그 포스트를 관리할 데이터베이스를 만든다. 이 데이터베이스에 다양한 속성과 뷰를 추가하여 각자의 방식으로 블로그 CMS를 만들 수 있다.
그리고 빈 페이지를 하나 만들어, 이 데이터베이스의 링크드 데이터베이스를 인라인으로 추가한다.
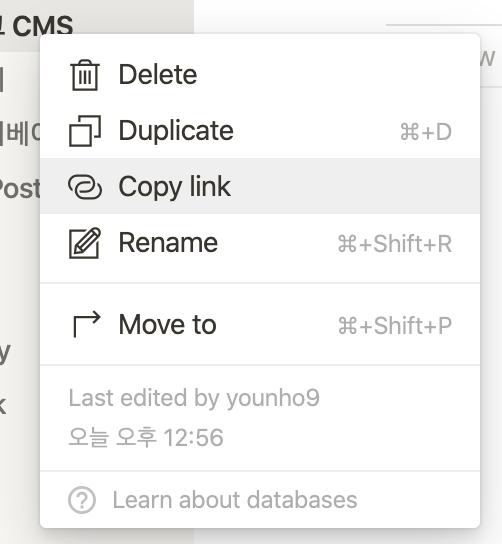
왼쪽 사이드바에 있는 데이터베이스를 우클릭하여 링크를 복사하고 페이지에 붙여넣기하면 링크드 데이터베이스가 삽입된다.
데이터베이스 id 구하기
위에서 링크드 데이터베이스를 페이지에 삽입한 것은 데이터베이스의 id 를 구하기 위해서였다.
🙇♂️ 더 좋은 방법이 있다면 알려주시기 바랍니다.
이전 글의 코드에서는 페이지의 url 로 접근해 페이지 내의 포스트에 접근한 것이다. 하지만 데이터베이스에 있는 포스트를 가져오기 위해서는 페이지의 url 이 아니라 데이터베이스의 id 가 필요하다.
원본 데이터베이스와 링크드 데이터베이스는 동일한 id 를 가지므로 이전에 작성한 코드를 활용하면 데이터베이스 id 를 구할 수 있다.
데이터베이스의 id 는 아래의 방법으로 구할 수 있다. token_v2 는 자신의 token_v2 그대로 사용하면 되고, 링크드 데이터베이스 블럭을 포함하고 있는 페이지의 url 을 넣어, 페이지 안에 있는 블럭들을 출력해보면, 블럭의 id , 데이터베이스의 제목, 데이터베이스( collection )의 id 가 출력된다.
1# get_database_id.py23from notion.client import NotionClient45client = NotionClient(token_v2="NOTION_TOKEN")6page = client.get_block("NOTION_PAGE_URL")78for block in page.children:9 print(block)
1python get_database_id.py
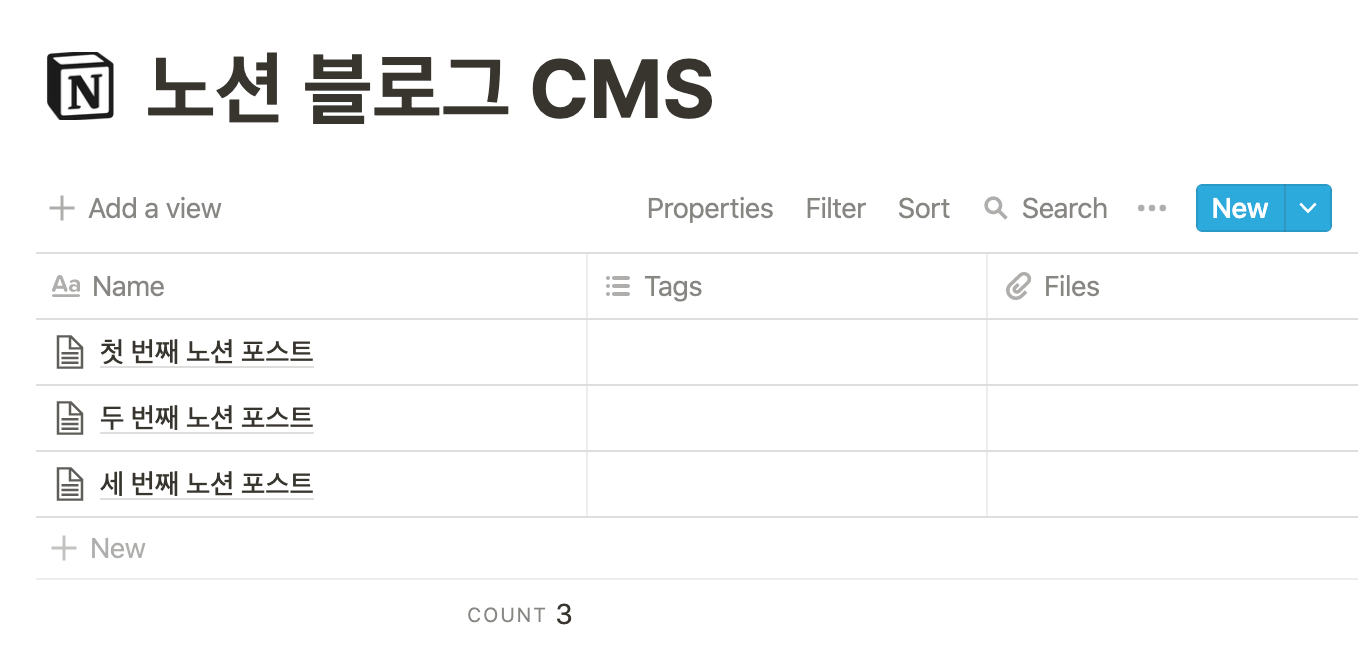
1id='f24dc957-257d-4c64-b702-6941caa90a2a', title='노션 블로그 CMS', collection=<Collection (id='e3045ea9-f535-4dea-917c-c6145e9349b0')>
이 코드를 실행해보면, block 의 id 와 collection 즉, 데이터베이스의 타이틀과 id 를 출력한다. 이 collection 의 id 를 사용해서 데이터베이스에 접근할 수 있다.
데이터베이스의 포스트에 접근하기
이제 데이터베이스에 접근해 글을 가져오도록 코드를 수정하자. notion-py에서는 get_collection(collection_id) 로 데이터베이스가 갖고 있는 정보들을 가져올 수 있고, collection.get_rows() 를 사용해 데이터베이스 각 행에 있는 포스트에 접근할 수 있다.
1# get_posts_from_database.py23from notion.client import NotionClient45client = NotionClient("NOTION_TOKEN")6contents_collection = client.get_collection("COLLECTION_ID")7posts = contents_collection.get_rows()89for post in posts:10 print(post)
1python get_posts_from_database.py
1id='5bec41c9-b09b-49a4-9945-69fb946105d4', title='첫 번째 노션 포스트'2id='8aa224bd-6c46-4c97-b4c5-c0e1b28256f4', title='두 번째 노션 포스트'3id='6c422bef-fe9b-4f73-86bd-c65e915ac136', title='세 번째 노션 포스트'
이제 이렇게 접근한 포스트의 내용을 가져오는 코드를 작성하면 된다.
1# get_posts_from_database.py23import os4import datetime56from notion.client import NotionClient78client = NotionClient("NOTION_TOKEN")9contents_collection = client.get_collection("COLLECTION_ID")10posts = contents_collection.get_rows()1112for post in posts:13 # Handle Frontmatter14 text = """---15title: %s16date: "%s"17description: ""18---""" % (post.title, datetime.datetime.now())19 # Handle Title20 text = text + '\n\n' + '# ' + post.title + '\n\n'21 for block in post.children:22 # Handles H123 if (block.type == 'header'):24 text = text + '# ' + block.title + '\n\n'25 # Handles H226 if (block.type == 'sub_header'):27 text = text + '## ' + block.title + '\n\n'28 # Handles H329 if (block.type == 'sub_sub_header'):30 text = text + '### ' + block.title + '\n\n'31 # Handles Code Blocks32 if (block.type == 'code'):33 text = text + '```\n' + block.title + '\n```\n'34 # Handles Images35 if (block.type == 'image'):36 text = text + '\n\n'37 # Handles Bullets38 if (block.type == 'bulleted_list'):39 text = text + '* ' + block.title + '\n\n'40 # Handles Dividers41 if (block.type == 'divider'):42 text = text + '---' + '\n\n'43 # Handles Basic Text, Links, Single Line Code44 if (block.type == 'text'):45 text = text + block.title + '\n\n'46 title = post.title.replace(' ', '-')47 title = title.replace(',', '')48 title = title.replace(':', '')49 title = title.replace(';', '')50 title = title.lower()51 try:52 os.mkdir('../content/blog/' + title)53 except:54 pass55 file = open('../content/blog/' + title + '/index.md', 'w')56 print('Wrote A New Page')57 print(text)58 file.write(text)

데이터베이스의 property 가져오기
데이터베이스에서 지정한 속성들 역시 가져와 활용할 수 있다. 예를 들어 작성 완료된 포스트만 가져온다거나, 포스트의 작성 날짜나 태그들을 가져와 헤더데이터로 사용하는 등으로 활용할 수 있다.
1# get_database_properties.py23import os4import datetime56from notion.client import NotionClient78client = NotionClient("NOTION_TOKEN")9contents_collection = client.get_collection("COLLECTION_ID")10properties = contents_collection.get_schema_properties()1112for property in properties:13 print(property)
데이터베이스가 갖고 있는 속성들의 목록은 collection 의 get_schema_properties() 를 사용하여 확인할 수 있다.
이 property 들은 데이터베이스 안에 있는 각각의 포스트가 갖고 있다. post.status , post.tags 등 아래에서 slug 의 값으로 포스트의 property 에 접근할 수 있다.
1# 제목2{'id': 'title', 'slug': 'name', 'name': 'Name', 'type': 'title'}3# 작성자4{'id': 'NP8D', 'slug': 'jagseongja', 'name': '작성자', 'type': 'text'}5# Status6{'id': 'E\\(M', 'slug': 'status', 'name': 'Status', 'type': 'select', 'options': [{'id': 'e274c30b-c1b0-4799-bc75-0284a69b874e', 'color': 'blue', 'value': '🤔 Being Considered'}, {'id': '820275ff-4729-4c44-bac6-dbbfd91d9669', 'color': 'orange', 'value': '🛠 In Progress'}, {'id': '12e040ea-0d36-47bb-a4e0-7c9c3576e9c9', 'color': 'red', 'value': '🖨 Published'}, {'id': '4b7f564e-4838-4562-96f1-435386232f1b', 'color': 'pink', 'value': '✅ Completed'}, {'id': 'baef00ae-0231-430b-8081-36944e0b5601', 'color': 'gray', 'value': '📅 Planned'}]}7# Tags8{'id': '+o>c', 'slug': 'tags', 'name': 'Tags', 'type': 'multi_select', 'options': [{'id': '41b97603-34d4-4e3a-88de-7804956575c7', 'color': 'gray', 'value': 'notion'}, {'id': '9f12d211-763b-4682-8054-26f9621c5b45', 'color': 'yellow', 'value': 'blog'}]}
🤔 신기하게도, 한글 속성은 발음대로 영어로 바뀌어 나타나는 것을 발견했다.
이제 데이터베이스를 가져오고, 데이터베이스에서 포스트를 가져오고, 포스트가 갖고 있는 속성도 가져올 수 있다.
1# get_post_properties.py23import os4import datetime56from notion.client import NotionClient78client = NotionClient("NOTION_TOKEN")9contents_collection = client.get_collection("COLLECTION_ID")10posts = contents_collection.get_rows()1112for post in posts:13 print(post.tags)
1$ python get_post_properties.py2['notion', 'blog']3['blog']4['notion']
추가 설정
머리말 구성
이렇게 가져온 속성들을 블로그 포스트의 머리말 데이터로 사용해보자.
hero: 썸네일 이미지excerpt: 요약 문구
내가 사용하고 있는 Gatsby 블로그에서는 이러한 머리말 데이터를 사용했다. 데이터베이스에 헤더를 위한 데이터들을 추가해주었다.
이제 각 속성의 slug 값으로 접근하여 머릿말에 추가하면 된다.
1import os2import datetime34from notion.client import NotionClient56client = NotionClient("NOTION_TOKEN")7contents_collection = client.get_collection("COLLECTION_ID")8posts = contents_collection.get_rows()910for post in posts:11 # Handle Frontmatter12 text = """---13title: %s14author: %s15date: "%s"16excerpt: %s17""" % (post.title, post.author, post.created_time.strftime("%Y-%m-%d"), post.excerpt)18 if not post.hero:19 text = text + '---\n\n'20 elif 'png' in post.hero[0]:21 text = text + 'hero: ' + './images/hero.png\n---\n\n'22 image_format = 'png'23 elif 'jpg' in post.hero[0]:24 text = text + 'hero: ' + './images/hero.jpg\n---\n\n'25 image_format = 'jpg'2627 print(text)
여기서 hero 즉, 커버 이미지 파일에 대한 처리가 필요했다. 노션 데이터베이스 속성 중 Files & media 는 이미지와 파일 url 이 문자열로 담긴 배열을 사용하는데, url 에 있는 이미지 파일 형식자에 따른 처리를 해주었다.
이후에 이 이미지 링크에서 이미지를 ./image/hero.xxx 경로에 다운받을 것이다.
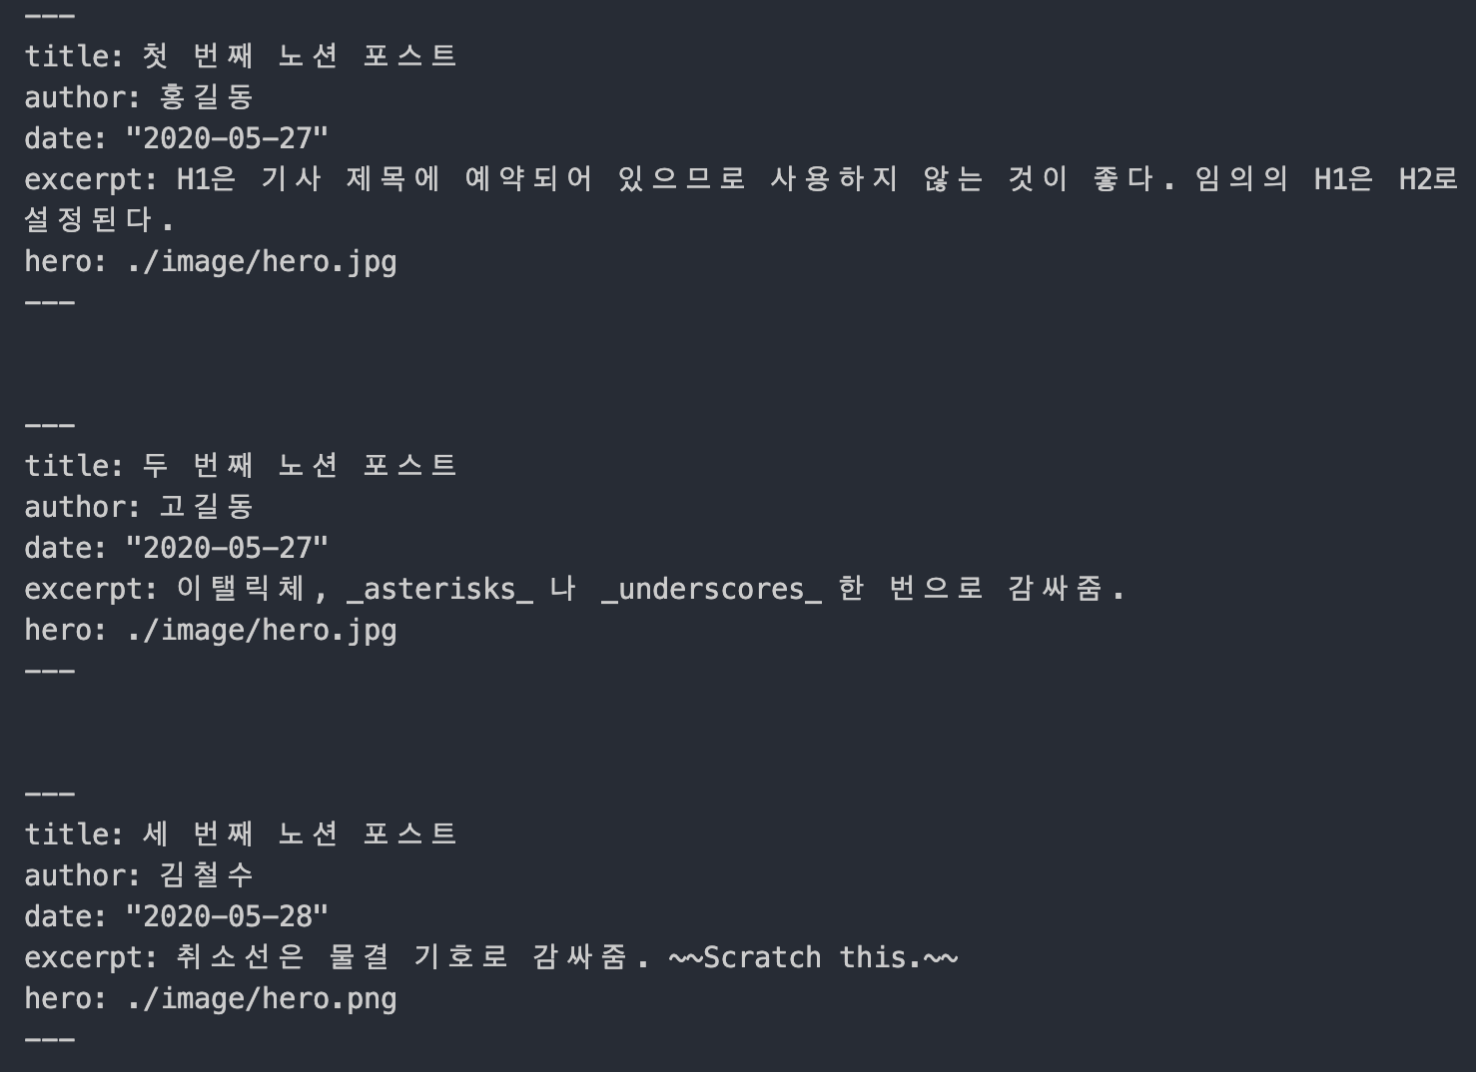
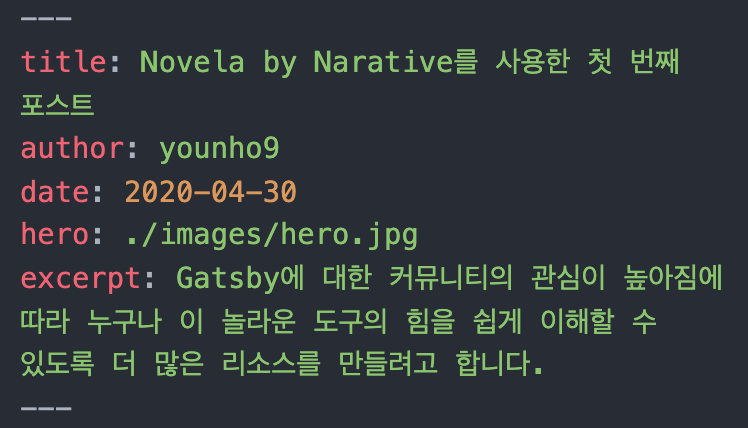
머릿말이 잘 구성되었다.
더 많은 노션 블록 타입 지원하기
이전 글의 코드에서는 다양한 노션 블록에 대한 지원이 부족했다.
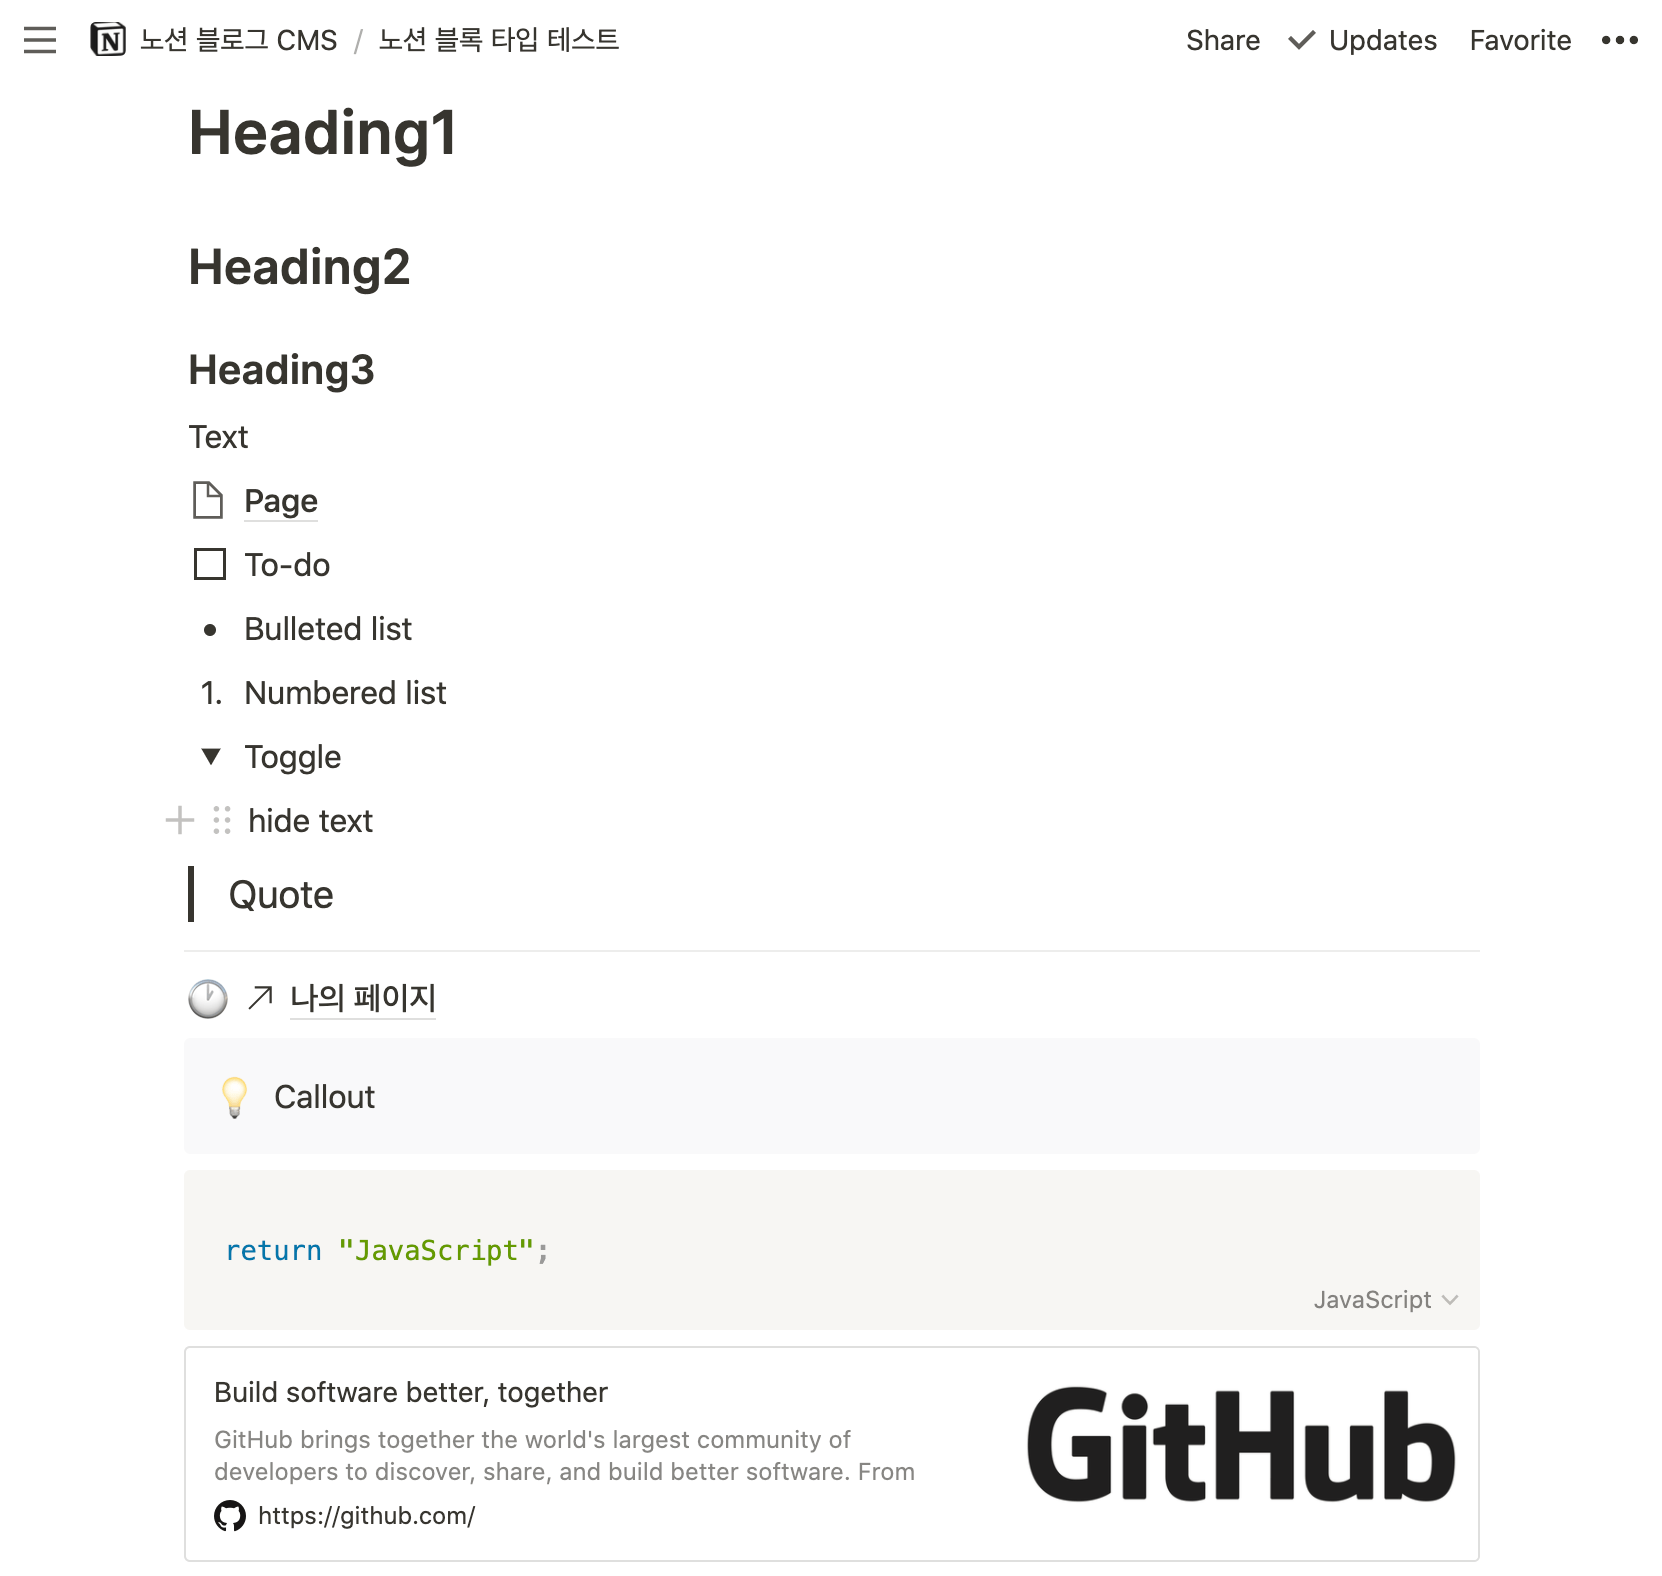
여러 블록 타입에 대한 처리는 간단하게 block.type 으로 type 을 알아내고 block.title 로 접근해 내용을 가져올 수 있다.
1for post in posts:2 # Handle Frontmatter3 text = """---4title: %s5author: %s6date: "%s"7excerpt: %s8""" % (post.title, post.author, post.created_time.strftime("%Y-%m-%d"), post.excerpt)9 if not post.hero:10 text = text + '---\n\n'11 elif 'png' in post.hero[0]:12 text = text + 'hero: ' + './images/hero.png\n---\n\n'13 image_format = 'png'14 elif 'jpg' in post.hero[0]:15 text = text + 'hero: ' + './images/hero.jpg\n---\n\n'16 image_format = 'jpg'1718 # Handle Title19 text = text + '\n\n' + '# ' + post.title + '\n\n'20 for block in post.children:21 print(block.type)22 print(block)
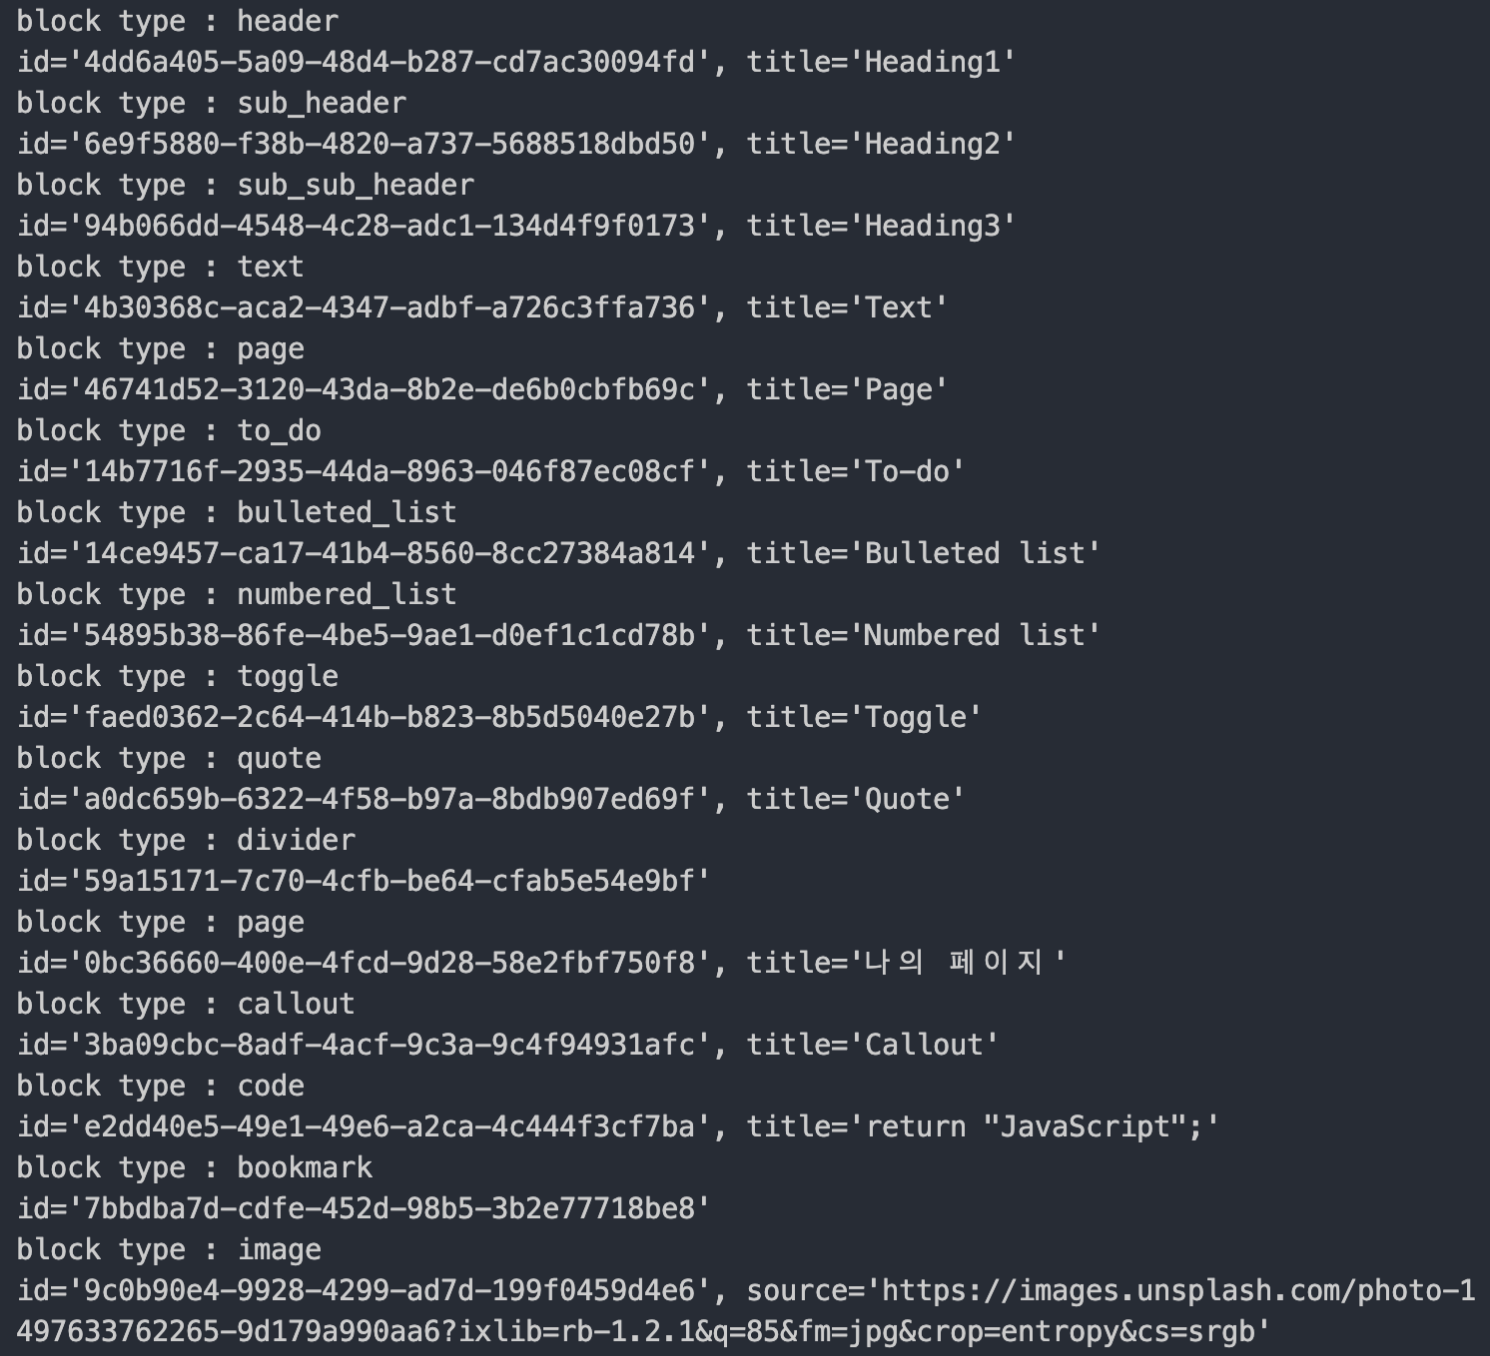
이렇게 하면 간단하게 block 의 타입 이름과 title 에 어떤 내용이 담기는지 볼 수 있었다.
block 타입 별로 어떤 추가적인 속성을 가지는지는 위의 소스를 보면 알 수 있다.
예를 들어 callout 블럭은 icon 속성을 갖고, code 블럭은 language 속성을 갖고, bookmark 블럭은 link , bookmark_cover 등의 속성을 갖는다.
이런 속성들을 활용하면 보다 정확하게 노션 블로그 글을 가져올 수 있다.
심지어 노션 자체 마크다운 export 기능은 언어 지정이 반영되지 않는데 language 속성으로 이를 가능하게 할 수 있다.
1for post in posts:2 # Handle Frontmatter3 text = """---4title: %s5author: %s6date: "%s"7excerpt: %s8""" % (post.title, post.author, post.created_time.strftime("%Y-%m-%d"), post.excerpt)9 if not post.hero:10 text = text + '---\n\n'11 elif 'png' in post.hero[0]:12 text = text + 'hero: ' + './images/hero.png\n---\n\n'13 image_format = 'png'14 elif 'jpg' in post.hero[0]:15 text = text + 'hero: ' + './images/hero.jpg\n---\n\n'16 image_format = 'jpg'1718 # Handle Title19 text = text + '# ' + post.title + '\n\n'20 for block in post.children:21 # Handles H122 if (block.type == 'header'):23 text = text + '# ' + block.title + '\n\n'24 # Handles H225 if (block.type == 'sub_header'):26 text = text + '## ' + block.title + '\n\n'27 # Handles H328 if (block.type == 'sub_sub_header'):29 text = text + '### ' + block.title + '\n\n'30 # Handles Code Blocks31 if (block.type == 'code'):32 text = text + '```' + block.language.lower() + '\n' + block.title + '\n```\n\n'33 # Handles Callout Blocks34 if (block.type == 'callout'):35 text = text + '> ' + block.icon + ' ' + block.title + '\n\n'36 # Handles Quote Blocks37 if (block.type == 'quote'):38 text = text + '> ' + block.title + '\n\n'39 # Handles Bookmark Blocks40 if (block.type == "bookmark"):41 text = text + "🔗 [" + block.title + "](" + block.link + ")\n\n"42 # Handles Images43 if (block.type == 'image'):44 text = text + '\n\n'45 # Handles Bullets46 if (block.type == 'bulleted_list'):47 text = text + '* ' + block.title + '\n\n'48 # Handles Dividers49 if (block.type == 'divider'):50 text = text + '---' + '\n\n'51 # Handles Basic Text, Links, Single Line Code52 if (block.type == 'text'):53 text = text + block.title + '\n\n'
callout, code, bookmark, quote 에 대한 코드를 추가했다. 더 많은 코드는 계속 추가할 예정이다.
커버 이미지 다운받기
앞서 데이터베이스의 hero 속성에 추가한 cover 이미지를 다운받자.
1...2import urllib.request34...56for post in posts:78 ...910 # Make blog post directory11 title = post.title.replace(' ', '-')12 title = title.replace(',', '')13 title = title.replace(':', '')14 title = title.replace(';', '')15 title = title.lower()1617 try:18 os.mkdir('../content/blog/' + title)19 except:20 pass2122 # Handles post cover Image23 if post.hero:24 try:25 os.mkdir('../content/blog/' + title + '/images')26 except:27 pass28 if 'png' in post.hero[0]:29 urllib.request.urlretrieve(post.hero[0], "../content/blog/" + title + "/images/hero.png")30 elif 'jpg' in post.hero[0]:31 urllib.request.urlretrieve(post.hero[0], "../content/blog/" + title + "/images/hero.jpg")3233 file = open('../content/blog/' + title + '/index.md', 'w')34 print('Wrote A New Page')35 print(text)36 file.write(text)
포스트 제목에 따라 폴더를 만들고, 포스트 폴더 안에 images 폴더에 hero 이미지를 urllib.request 를 사용해 다운받았다. 자세한 사용 방법은 아래 링크를 참고하자.
🔗 urllib 패키지를 사용하여 인터넷 리소스를 가져오는 방법 - 파이썬 설명서 주석판
원하는 위치에 이미지를 저장했다. 머리말에 hero 의 경로가 지정되어 있으므로 Gatsby 블로그에서는 이 이미지를 가져와 커버로 사용할 것이다.
마치며
이렇게 notion-py를 활용하여 노션 데이터베이스에 있는 마크다운 문서들을 로컬로 가져왔다.
노션 데이터베이스를 활용하면 다양하게 뷰를 바꿔가며 콘텐츠를 확인할 수 있고, sort, filter 등의 기능을 활용할 수 있다. 또한 속성을 활용하여 글을 분류하고 관리하는 등 CMS로 활용할 수 있다.
물론 위의 코드는 마크다운 문서로 추출되기 때문에 마크다운을 지원하는 블로그 플랫폼이 아니라면 수정이 필요하다. 하지만 코드를 조금만 수정해도 어떤 블로그 플랫폼에 적용할 수 있다.
다음 글에서는
os의 환경변수에
token_v2를 등록하는 방법config.py에collection_id를 저장하고 가져오는 방법prettier로 문서를 포맷팅한 후, 로컬 Gatsby 서버를 실행하는 쉘 스크립트를 작성하는 방법
노션 데이터베이스의
status에 따라 콘텐츠를 필터링하여 가져오는 방법노션에서 글 작성이 완료되었을 때 Github에 자동으로 업로드하는 방법
들을 다뤄볼 예정이다.
notion-py는 비공식 노션 API이다
물론 notion-py가 “비공식” 노션 API이고, 노션에서는 곧 공식 API를 출시할 예정이라고 하기 때문에, 이 API를 언젠가 사용하지 못할 가능성이 있다.
하지만 notion-py를 다루며 노션 공식 API가 가져올 어마어마한 가능성에 대해 생각해 볼 수 있었다. 노션이 정말 “All-In-One Workspace” 가 될 수 있을까?
빠른 시일 내 공식 API가 출시되고 많은 유저들이 사용하면서 수많은 활용 예제들이 탄생하길 기대한다.